 |
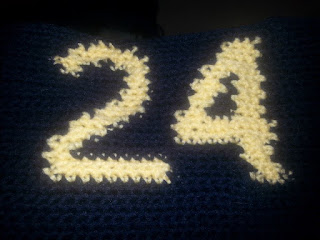
| This is a picture of a graphgan I made. As you can see with each colour change, I left a long tail to sew in. |
You want to make sure you go side to side a total of three times. This "locks" it in place, because your work can not go in both directions at the same time.
You may notice holes in your work where the colour change happened, sometimes this happens because the yarn isn't the same, sometimes this happens because the tails weren't pulled tight. If you find the holes are two big you can always sew the parts together while hiding the tails. This will cause the project to become tighter.
Once all the ends are sewn in, you can cut away any excess, you should have a clean and crisp looking final project. It is important to make sure you are sewing the ends into the making colour. (In the example above, the yellow got sewn into the yellow stitches and the blue into the blue stitches.)
This video is a good visual aid to help out with sewing in the ends.


No comments:
Post a Comment