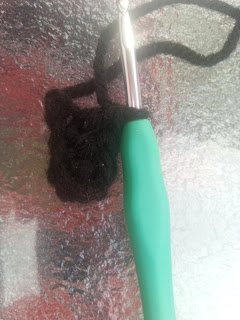
Step one:
To start any C2C project you need to start with a chain of 6 stitches. (A How To Post on that is available here). Below is what a chain of 6 looks like.
Step two:
To start the "box" you need to work a double crochet into the fourth stitch from the hook (or third from the beginning). Make a double crochet in the next two stitches so that the row is finished.
This is what the first box looks like.
Step three:
To start a new row of boxes, chain another six and repeat the process of double crochets into the three lowest stitches. Now you should have two boxes. To attach them together, turn your work so that the boxes look like the picture below.
To attach the boxes, place your hook between the chain and the double crochets of the bottom box and slip stitch.
Step four:
Each row needs an added box to continue growing. To do this chain three and in the same space you slip stitched, and place three double crochets. With this row only having two boxes this is the end of the row. To create the next row again you need to chain and follow the same steps until the end of the row. Continue this until the size of the box has been met.
Corner to corner projects will always be a perfect square. (Keep this in mind when deciding on the size of a pattern - example I use 20 x 20 to make pillow coverings. The best way to measure is by placing the first half against what you want to cover.)
Finishing the Project:
Once you have the size you want, you need to create the other half of the C2C. You do this in a decrease this time, each row losing a box.
The process of increasing and decreasing is very similar. To increase, chain six to create the next box, to decrease you slip stitch. Then the process is the same. Below is what the finished product should look like.
This is a 23 x 23 square. I am using it for a pillow covering, for a blanket you have two options you can make multiple squares and sew them together or make just one large panel.


No comments:
Post a Comment